How to Machine Holes with CAM

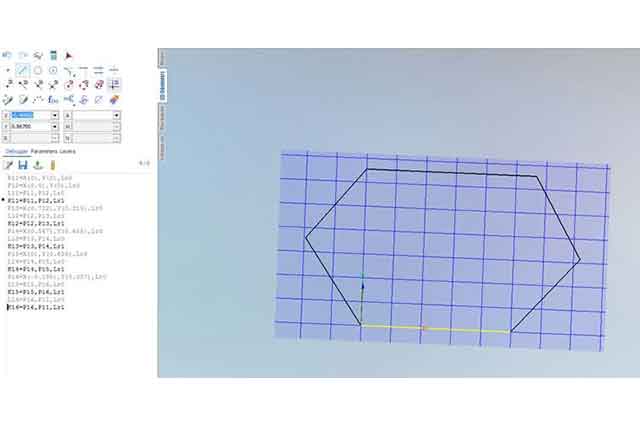
Drawing Custom Stock – SprutCAM America
March 5, 2019
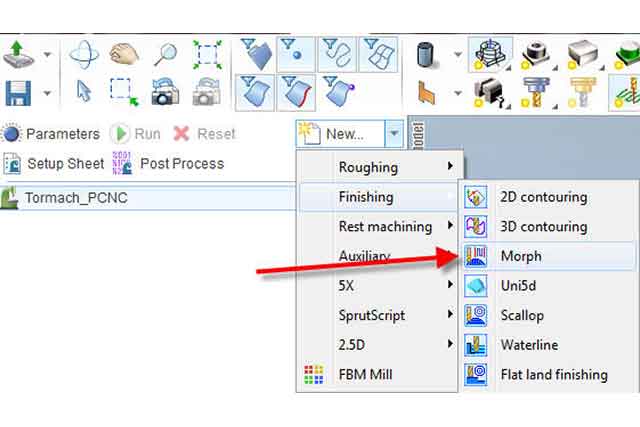
Finishing Morph Operation – SprutCAM America
March 5, 2019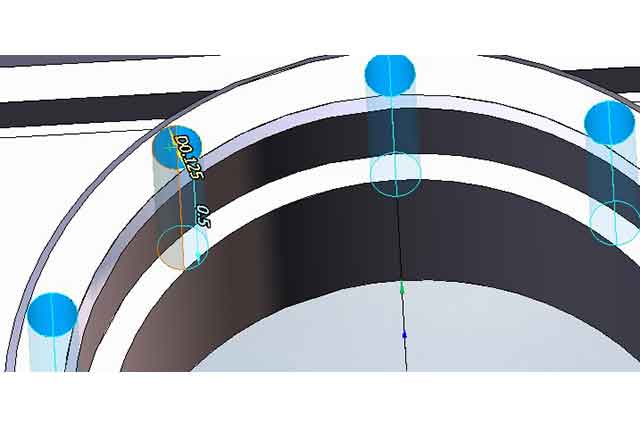
Most SprutCAM users choose their job assignment by selecting a face of a hole and choosing Center. There is another way to achieve this by setting up your job assignment using Hole Creation. Here are a few tips to help you in that process.
First, locate the Recognize function. This allows you to input dimensions and SprutCAM will search for holes in that diameter range. This can also be narrowed down to Through or Blind holes. Simply check each hole you want, hit okay, and SprutCAM adds them into the job assignment.

The next tip to ease this process relates to selecting the holes. The first method was to select the faces and manually choose Center in Job Assignment. To easily select multiple holes at once, simply double-click the inside face of any hole and SprutCAM grabs each identical hole in the model.

Once they are all highlighted, select Center to put them all in Job Assignment.

If you happened to have modeled a part up and forgot to put a hole in, or you want to change the hole’s location, you do not need to leave SprutCAM to do this. SprutCAM has a fantastic hole creator within the Hole Machining operation. Simply go to Job Assignment and select Create.

At the top, it gives you the center point location in relation to your work offset in the X and Y coordinate system. You can set Diameter, Z max, and Z min. Once you hit okay, the job assignment is created to drill holes, tap, pocket, etc.

If one hole isn’t enough, you can always create multiple by selecting Pattern in Job Assignment.

Here you can create Linear, Circular, Angular, Concentric, and Parallelogram style hole patterns with ease.